


EquiSol Fencing Instructions
New Equisol NZ A4 Brochure 2019(F)
How to put up new Y Post insulators
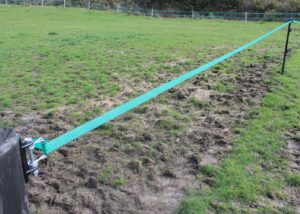
I like to have an end insulator at the start and finish of each Y Post fence as this insures the fence stays nice and tight, but to do this you will need a post either end.
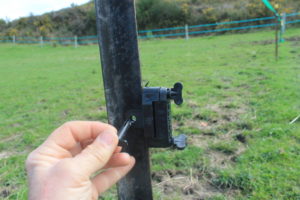
Line up your insulator with the hole on the Y Post, if you are using our caps put the cap on the top first then insert your insulator and put the pin thru. ( A tip to make it easier is to take a pocket knife our with you and shave off the lugs on the pin, they will go in much easier)
Unscrew the top wing nut and loosen the bottom one, ensure your rubber pads are in place, put in your tape and pull tight, screw down firmly.
EASY AS THAT!
At the moment the caps only fit on new Y posts that have not been damaged, we are working on a fix or this.
Also some Y Posts have holes that are slightly different so it can be difficult to get the pin in, this is usually the top hole once you have put the cap on, you can drill through the hole to take out the small piece of plastic that is stopping the pin going through, a number 6 drill bit is great for this or even cable tie on. Something else we are looking to sort out.

How to Thread and End Insulator
How to Repair your fence after a mishap